Tuesday, November 15, 2022

How to Run Power Automate Flow from Canvas App PowerApps


Introduction

In this topic, We'll Embed Power Automate in Canvas App and will run it through Canvas App button.

In this post we'll create a Canvas App with button and add Power Automate Flow. 


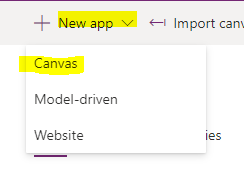
Click on New App as Canvas


Create New App with name 


Click on Add data and Select Button


Click on Power Automate and then Create New Flow


Then Select a Flow as Send Approval And follow up via email


Name, Approvals and office 365 outlook automatically configure


Field Values
Automatically Configure and click on create flow


We can see Flow is added 


Select button and add formula and set email for approval and follow up email
FlowName.RUN() In this Main Formula .RUN will execute Flow


Email will receive with Approve, Reject and Comment section


Follow up Email with Comment will look like this


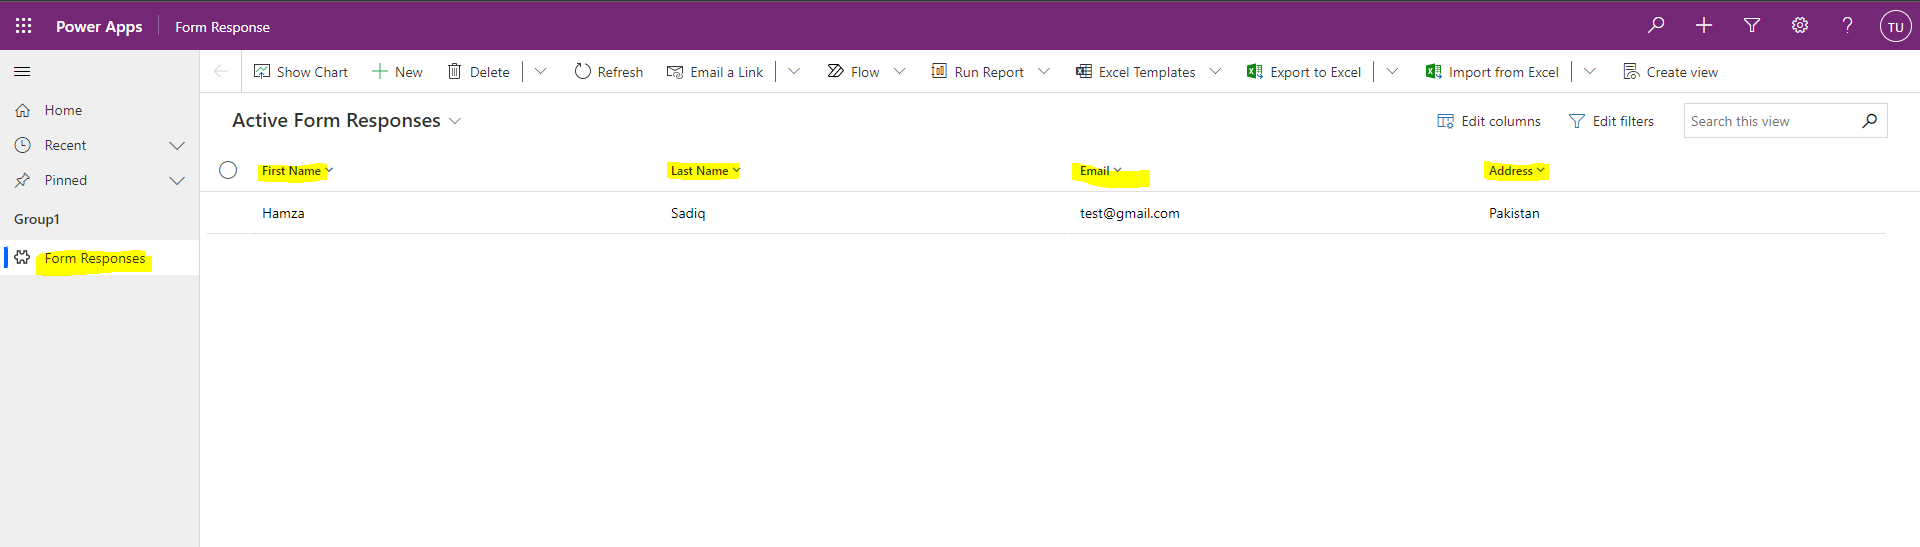
We Can See Power Automate Flow is trigger within Canvas App, Approval and Follow up Email also received

Saturday, November 12, 2022

When a new File in added in SharePoint Document Notify on MS Teams and posted on Yammer Group

Introduction

In this topic, we'll get notification on MS Teams group and also in Yammer group by using Microsoft Power Automate Flow when a new item is added in SharePoint Document Library. 

Open Power Automate Flow


Click on New Flow and select Automated Cloud Flow


Click on Skip and then Select the Trigger of the Flow as 

When a SharePoint file is created


Set Site Address the Select Document Library Name in which file will add

Click on New Step and Select Yammer Post Message Action


Select Group ID, Message Text and Network ID

After setting 

Click on New Step and Select Teams 

Post Message in a Chat or Channel


Set Post as, Post In, Team, Channel and Message

Save and Run the Flow by adding file in select Document Library which we set on first step.

Yammer Group Message will be look like this.


Teams Channel Message will be look like this.


We can see file name is in Yammer Group and as well as on Teams Channel.


Wednesday, October 5, 2022

How to create Microsoft Dataverse table record through Microsoft Form after approval by using Microsoft Flow

Introduction

In this topic, we'll add a new record in Dataverse table with Microsoft Form response through Microsoft Flow. We'll explain simple steps and give some useful insights.

In this case, we'll create Microsoft Form and then Microsoft Flow through which we'll add responses of Microsoft Form in Dataverse table after Approval.

Open Microsoft Form


Create New Form as 


Open Power Automate


Create Automate Cloud Flow


Select trigger when Microsoft form response submitted and add name of flow


Select Form ID (Newly created form in previous step)


Add Approval component and add related details


Add condition in flow where outcome is approve then create record in Dataverse Table. 


Save the Flow

Open Newly Create form and fill it. 


After Submit the form Approver will receive email with form details


When approver approve this then flow ran successfully.


Now Open Dataverse Table in which record is created we selected in Microsoft Flow


We can see Dataverse Table record is also created at the same time after approval. 


In this post, We created Microsoft Dataverse table record through Microsoft Form after approval by using Microsoft Flow. 

Wednesday, September 28, 2022

How to use PCF Control in Entity Form Dynamics 365 CRM


Introduction

In this topic, we'll Integrate the PCF Control in Model Driven App form. We'll explain simple steps and give some useful insights.

In this case, we'll change the view of two option set in our Model Driven App Entity form by adding PCF control from classical to modern view.

Before PCF Control


Download PCF Control Solution from here


Open Advance Setting in Model Driven App

Click on Solutions 


Import the Solution which we download in above step


Open entity Form in edit mode where we've two option set


Select field and click on Change properties


Click on Control


Select Add Control 


Select TwoOptionBooleanButton and click on Add Button


Select Web, Phone and Tablet


Click on Save , Publish and Save & Close


Open Form and you can see Two Option Set View is changed Now.


In this Post, We added PCF control on form and change the view on Two Option Set.